1. Introduction#
Unknowingly, my blog has been running for a while in the ups and downs, and I feel it is necessary to record the process of building the blog in detail, in case I accidentally break the blog...

2. Environment Deployment#
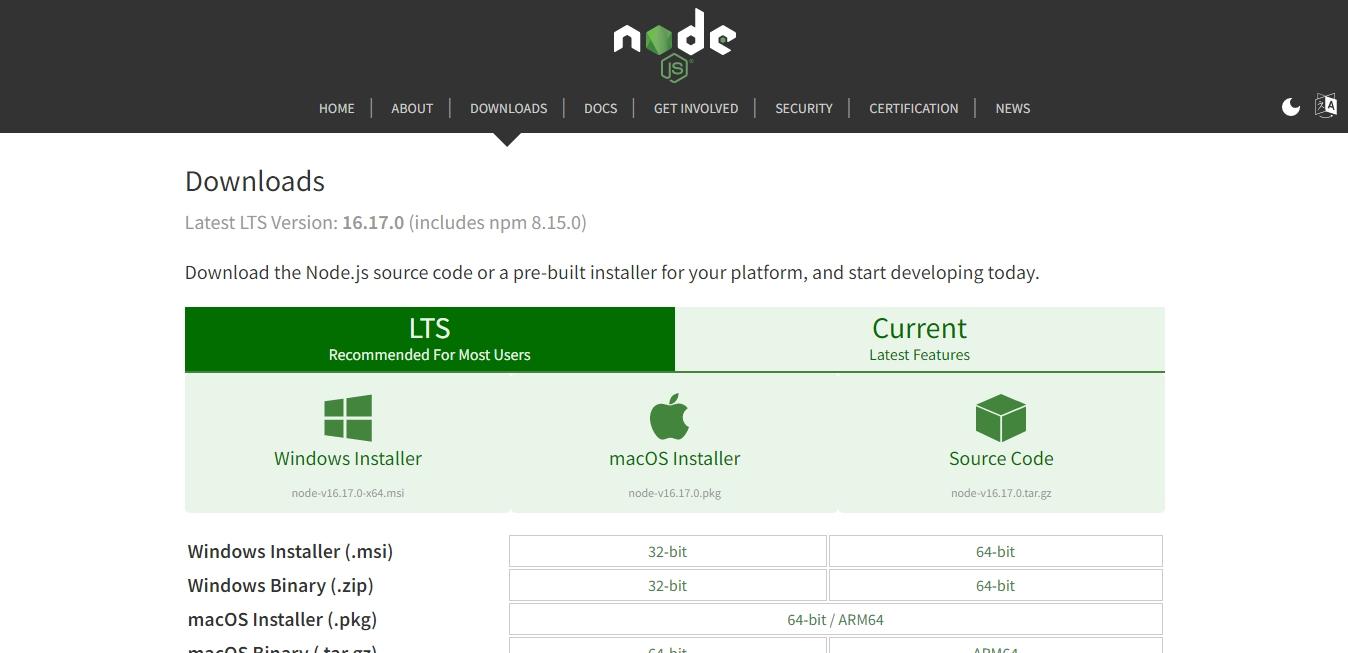
2.1 Install Node.js#
- Go to the official website and choose the corresponding system to download:
Official website: https://nodejs.org/en/download/
2. Install
Choose the path and complete the installation.
3. Check
Open cmd or powershell and enter:
node -v
npm -v
If the version number is displayed, the installation is correct.
{% note info simple %}npm is the package management tool for Node.js.{% endnote %}
2.2 Install Git#
-
Go to the official website to download:
Official website: https://git-scm.com/downloads -
Install
Choose the path and complete the installation. -
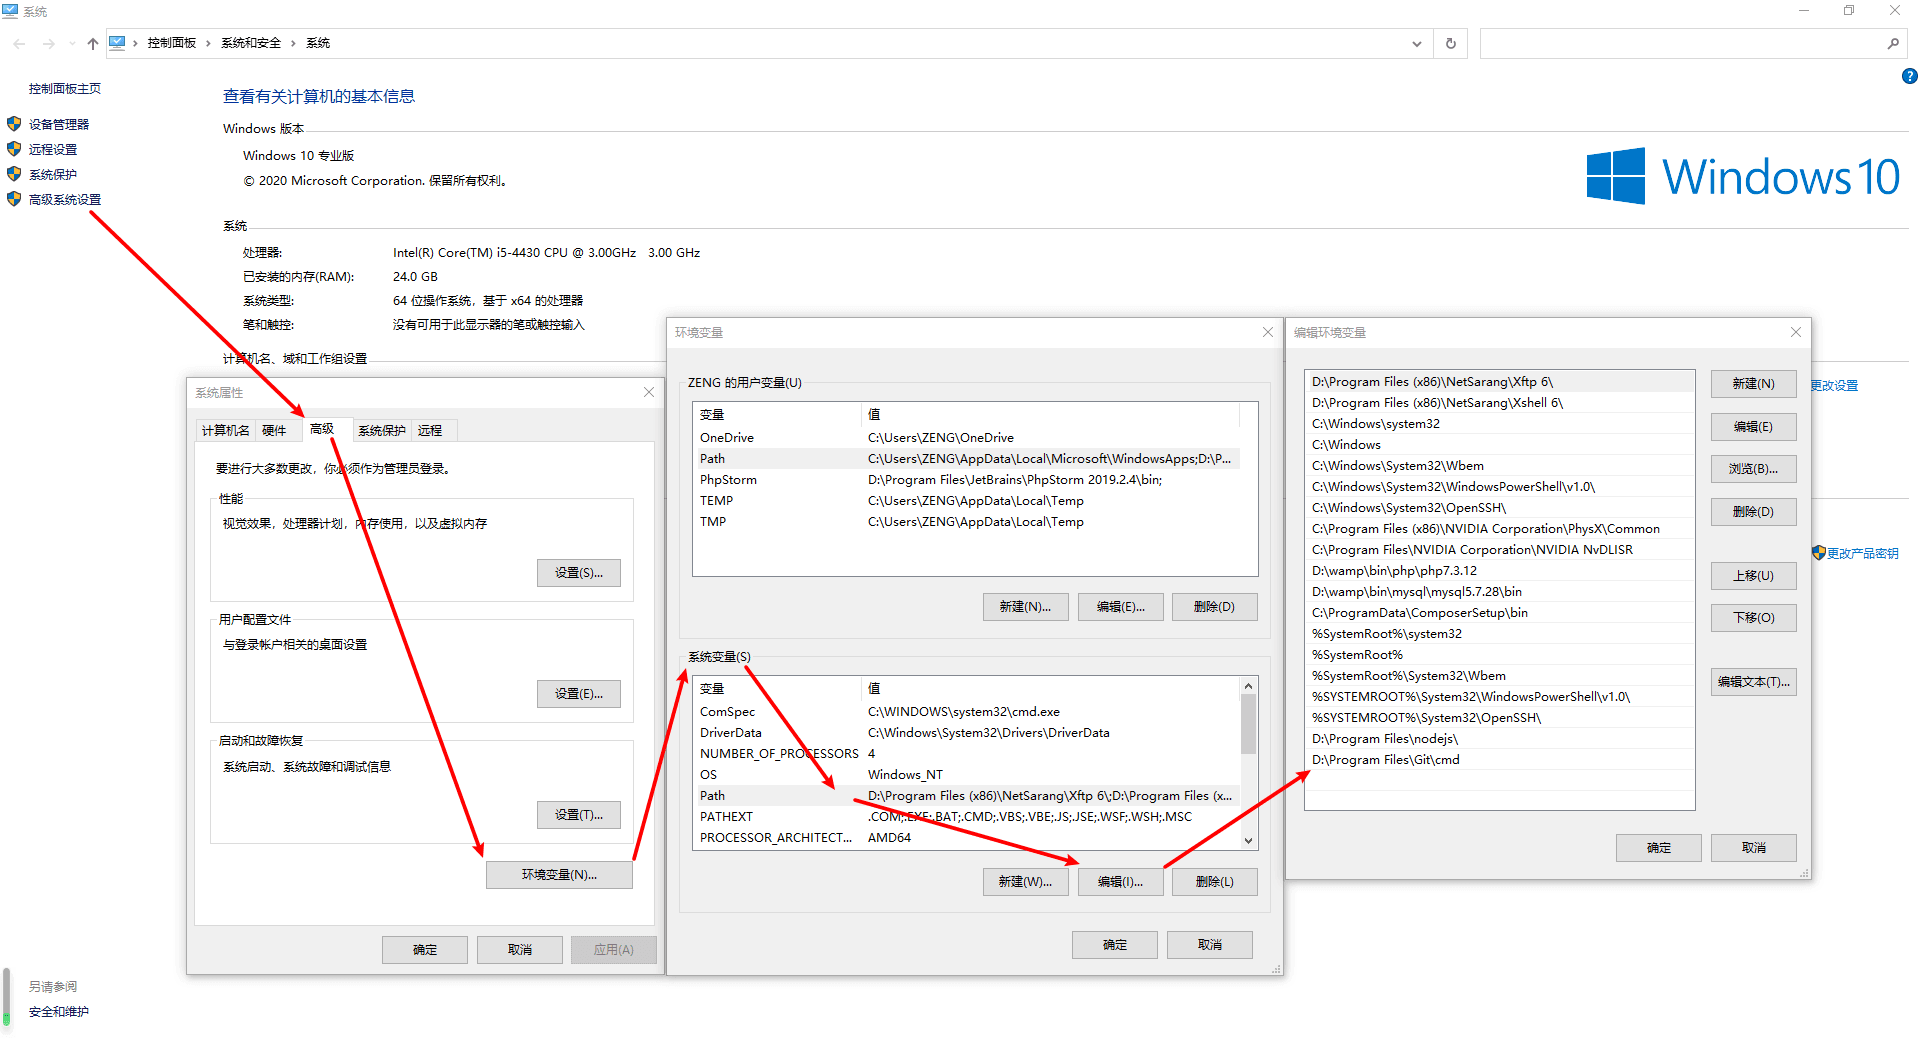
Configure Git environment variables
Right-click on My Computer -> Properties, click on Advanced System Settings, and finally add your Git path in the environment variables.
Git path example
C:\Program Files (x86)\Git\bin
{% note danger simple %}The specific path depends on your system.{% endnote %}
- Check
Open git bash or cmd and enter:
git --version
If the version number is displayed, the installation is correct.

-
Use Git in cmd
Enter sh in cmd. -
Change NPM mirror source
Because the default NPM mirror source provided by the official website is not very good in China, it is recommended to change it to Taobao's mirror source.
npm config set registry https://registry.npmmirror.com
2.3 Register a Github account#
- Register an account on the Github official website https://github.com
- Create a new project
The project name should be your nickname.github.io, for example:
// My nickname is xlenco
So my project name is xlenco.github.io
- Code repository settings
After creating it, save the SSH in '<>code', that is:
[email protected]:XXXX/XXXX.github.io.git
Click on the 'Settings' on the right side of your repository
Scroll down to 'Github pages' and click on 'Launch automatic page generator'. Github will automatically create a pages page for you. If the configuration is correct, after a few minutes, the URL 'yourname.github.io' can be accessed normally.
2.4 Install Hexo#
- In a suitable location, such as E:/hexo, install hexo-cli by entering:
cd /e/hexo/
npm install hexo-cli -g
Then install hexo
npm install hexo --save
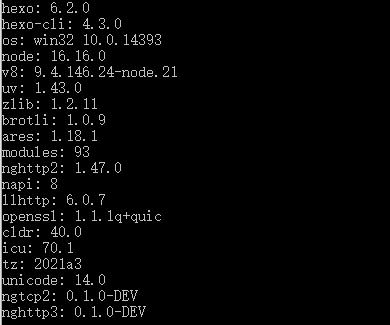
After the installation is complete, check
hexo -v
2. Initialize a folder:
hexo init blog // hexo will be installed in the blog folder
cd blog
npm install
- Generate Hexo pages:
hexo generate
- Start the preview service:
hexo server
The default is localhost:4000, open the browser and enter it.
2.5 Push to Github#
- Configure personal information
git config --global user.name "XXXX"
git config --global user.email "[email protected]"
- Generate a key
ssh-keygen -t rsa -C "[email protected]"
- View the id_rsa.pub file and copy it entirely
cat ~/.ssh/id_rsa.pub
- Then add the SSH key in
Github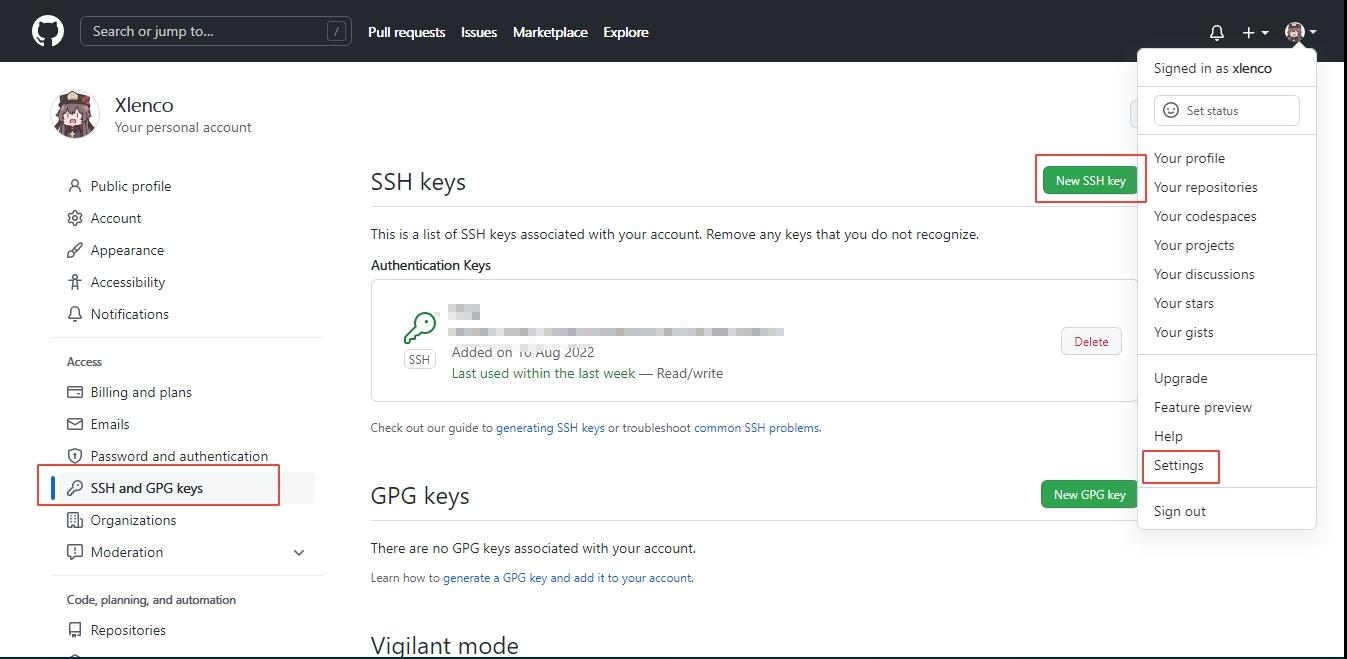
- Modify the deploy in the _config.yml file in the hexo root directory and add the saved SSH:
deploy:
   - type: git
     repo: [email protected]:xlenco/xlenco.github.io.git
     branch: main
- Upload to github:
hexo d -g
If hexo-deployer-git is not available, install it
npm install hexo-deployer-git --save
3. Hexo Related#
- Create a new article
hexo new postMy First Article - Hexo will automatically generate an md file, modify the md content
The header is like:
---
title: postName # The display name on the article page
date: 2022-08-28 12:30:16 # Article generation time, generally unchanged, but can be modified arbitrarily
categories: Default Category # Category
tags: [tag1,tag2,tag3] # Article tags, can be empty, multiple tags please use the format, pay attention to the space after the colon:
description: Summary
---
- Write the article content below the header
{% note info simple %}Markdown, supports HTML and its own syntax. Markdown is a markup language that can be written with a plain text editor. With simple markup syntax, it can give plain text content a certain format.{% endnote %}
3.2 Create a new page#
hexo new page "update"
A folder named update will be generated in the source folder, and the index.md inside it is the page content.
3.3 Common basic commands#
hexo new "Article"
hexo new post "Article"
hexo new page "Page"

hexo cl # Clear cache
hexo clean # Clear cache, it is recommended to execute it every time you redeploy
hexo g # Generate static pages
hexo generate # Generate static pages
hexo s # Local port preview, default is 4000
hexo server # Local port preview
hexo s -p 5000 # Port 5000
hexo d # Deploy
hexo deploy # Deploy
To facilitate each push, you can enter the following content
hexo cl && hexo g && hexo d
4. Advanced Hexo#
4.1 Recommended Editors#
Convenient for writing articles and modifying content later
VSCode https://code.visualstudio.com/
Typora https://www.typora.io/
Qexo https://github.com/Qexo/Qexo
Wexagonal https://wexa.top/
4.2 Change Theme#
- Because the built-in theme is not good-looking, you can change the theme. There are many common themes, such as butterfly, next...
cd /e/hexo/blog
git clone -b master https://github.com/jerryc127/hexo-theme-butterfly.git themes/butterfly
- Modify the theme: landscape in the _config.yml file in the hexo root directory to theme: butterfly, (note that there is a space after the colon:)